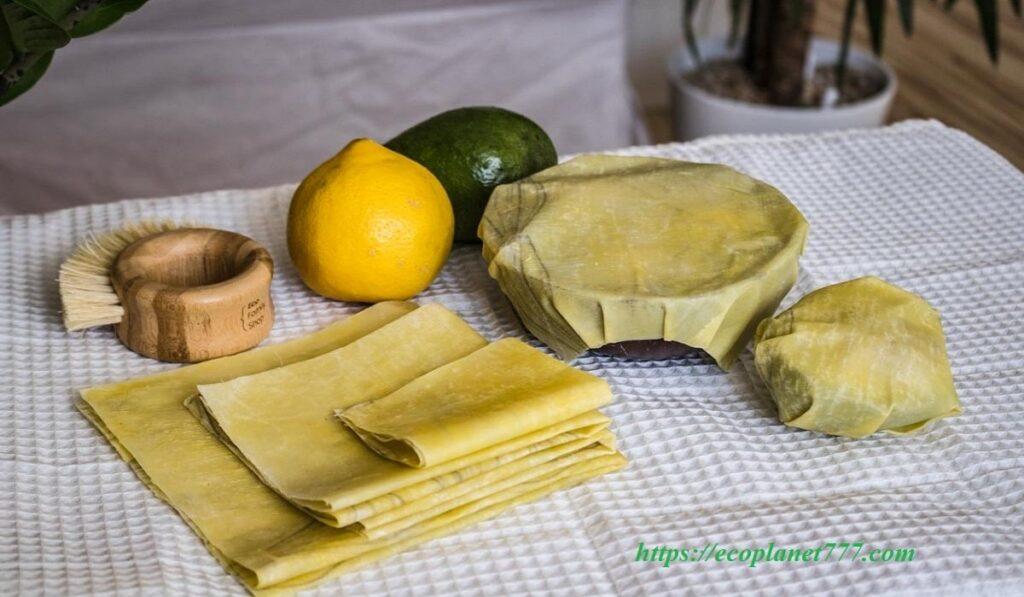
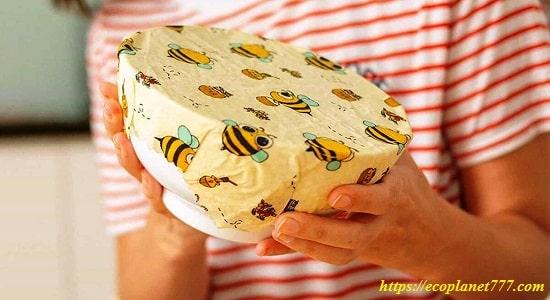
Use our tips and tricks to make do-it-yourself wax napkins for food storage. They are ideal for those who want to get rid of waste in their kitchen and are a sustainable alternative to plastic cling film.
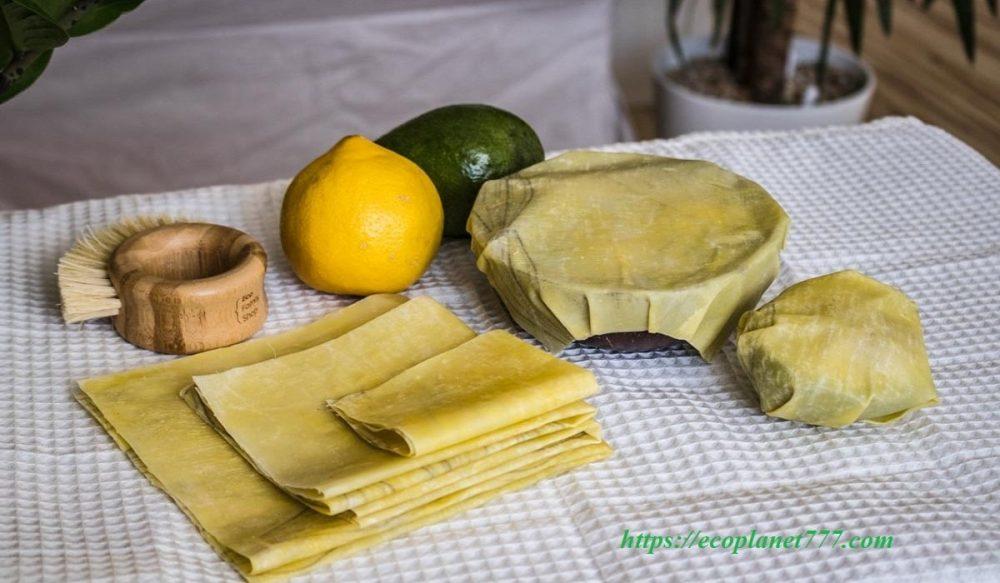
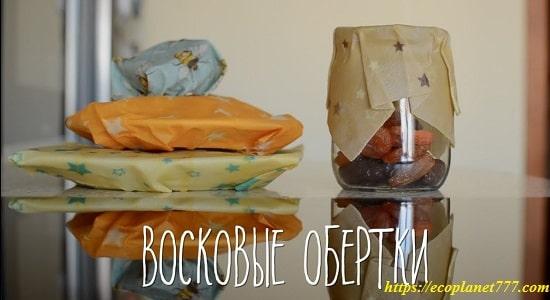
Beeswax has natural antibacterial and antifungal properties, so it is quite hygienic! It has already been confirmed that food packaging containing beeswax effectively prevents food spoilage and prevents the spread of harmful food bacteria. This waxed fabric is convenient to use both for covering bowls, jars and other containers, and as a wrapper for storing sandwiches.
The combination of beeswax and fabric creates a breathable food film that retains food’s moisture, keeps food fresh longer, but also allows it to breathe naturally. The best thing is that you can use these DIY wax wipes over and over again as they are reusable, non-toxic and biodegradable.
In order for you to make your own reusable beeswax wipes, you will need a few of the most important ingredients. A base oil (such as olive or jojoba) is used to make the fabric soft and supple. Pine rosin (optional) is added to make the fabric sticky when shaped into a container.Finally, it’s worth noting that the beeswax pellets (if you don’t have pellets, just grate a bar of wax) bind all the ingredients together and decontaminate, making the wraps food safe.
With the help of this tutorial, you can make your own custom sized wax napkins for storing food in separate jars or containers that you already have in your home to store your treats. If you want to make them more versatile, then choose sizes that are suitable for covering containers of various shapes and sizes.
Read our instructions to the end and you will see how easy and simple it is to make your own beeswax wipes.
What You Need to Make Wax Napkins
Tool
- A pen
- Scissors
- Parchment
- Measuring spoon
- Foam brush
Material
- Piece of cotton fabric
- Jars or containers to cover
- Base oil
- Rosin (pine)
- Beeswax granules
How to make a do-it-yourself wax napkin
1 option
- Cut a piece of fabric to the desired size
To do this, you can put a jar or other container upside down on a cotton cloth that needs to be washed first. Then draw a square on it, which should be a few centimeters larger than the edges of the container on each side. Your fabric should be just enough to cover the top and hang down in all directions. Now you need to cut out the square with scissors. Also cut off all other squares of fabric.
2. Take a baking sheet and cover it with parchment paper. Lay a piece of fabric on the parchment paper with the printed side facing up. The fabric should lie flat with no wrinkles.
3. Now you need to add the base oil (olive or jojoba). To do this, apply with a pipette 1/2 tsp. butter (or a little more) on each of the pieces of fabric. It is important that the oil is distributed evenly over the entire surface of the fabric.
4. Add pine rosin. Take approximately 1 tsp. pine rosin and spread all over the fabric, on top of the base oil, so that it is applied evenly.
5. Sprinkle everything with beeswax. Next, sprinkle about 2 tsp on each of the pieces of fabric. beeswax granules (or grated wax) on top of the other two ingredients available. As in the previous examples, spread them throughout the fabric. Do not use too much wax as the fabric will be too stiff and may even exfoliate. You can always add more later if needed. As a result, 3 layers should be applied to each piece of fabric, evenly sprinkled with it.
6. Now you need to put a baking sheet with a cloth in an oven preheated to 125C for 10 minutes. This time will be enough for all the ingredients that you added to melt and mix completely.
7. Distribute the received ingredients. Take a foam or other brush and use it to more evenly distribute the already melted ingredients over all the pieces of fabric. Make sure that the fabric does not form wrinkles while you rub them with a brush. However, be aware that the brush will get covered in wax and may not be suitable for some other uses. To clean the brush afterwards, try dipping it in hot/boiling water to remove the wax.
8. Place the baking sheet with the cloth back into the preheated oven for about 2 minutes.
9. Now cool the fabric. Remove the wax towels from your oven and let them cool slightly for a few minutes. Napkins should be both cool enough to be handled, but still warm enough to remain flexible.
10. Form wraps. Place the waxed cloth on top of the specific jar, jar, or container, and gently press down on each edge so that it covers the top well.
11. Let it cool down completely. Your wax pads should now be completely cool for them to retain their desired shape.
12. Enjoy the beeswax fabric that will let you keep food longer. Wonderful do-it-yourself napkins are ready to use.If you want to seal the jar tightly, you can use a rubber band to secure the wax cloth to the top of the jar.
2 wax pads
For this option, cut the fabric into the desired shapes and sizes of your choice. Next, combine 1/4 cup beeswax granules, 2 tablespoons pine resin, and 1 tablespoon organic jojoba oil in a double boiler on the stovetop. Heat until the wax is completely melted and mixed with all the ingredients. Use the brush to apply an even layer of the mixture to the surface of the fabric. It should be enough to absorb and saturate the fabric, but not accumulate in one place and not drip from it. You will have to work quickly so that the wax does not harden as you work. When you are done, let the fabric cool completely.
Homemade beeswax fabrics usually stick to containers easily, so simply press all sides together to create a good hold. If they feel a bit stiff and not very sticky, make them more flexible by rubbing and heating them between your hands before using.
Use beeswax placemats to store fruits and vegetables, cheese, bread and more. Use them to cover a proofing dish with dough when making homemade cakes.
3 do-it-yourself napkins with wax
Take a simple natural fabric, cut off the necessary piece. Then take your parchment paper and lay the fabric on top. Then sprinkle the beeswax granules (or a rubbed small bar of wax) evenly on the fabric. Lay another piece of parchment paper on top. Take an iron heated to a hot state and run it over the paper several times so that all the wax melts.If some places turned out to be too dry, i.e. without wax, then add the required amount of wax granules and run the iron again on top.
Production of wax napkins for food storage
- For DIY beeswax fabric, it is best to use 100% cotton or linen fabric. Organic or recycled fabric is even better! Natural fabrics such as cotton readily absorb beeswax directly into their fibres. In contrast, synthetic fabrics containing polyester or nylon do not absorb it as easily. The beeswax will remain on the surface and peel off over time.
- It is best to make wax napkins from a thin or medium thickness of fabric: something like the thickness of a T-shirt, pillowcase, cloth napkin, and not thick and fluffy like a flannel or kitchen towel. On the other hand, don’t use something as thin as gauze.
- When making napkins at home, you need to pay attention to the quality of the dye that was used to dye the fabric, because it will come into contact with food.
- Use an old tablecloth or bed linen to make reusable wax napkins to make them even more eco-friendly and useful for food storage! The main thing is that everything is well cleaned and washed.
- When you use, bend, and shape beeswax fabrics, creases and faint white lines are completely normal. However, if you overdo it with beeswax, it can exfoliate and fall off.In this case, place the homemade beeswax cloth back into the warm oven, let the wax melt again, blot the excess wax with a tissue or paper towel, and then place it back in the oven to even out the surface layer and finish the process. On the contrary, if your waxed cloth feels soft and not waxy enough (or wax is missing in visible areas), send it back to the oven with an additional dusting of beeswax to ensure a thicker coating.
- In no case do not wrap raw meat or fish in wax napkins, because harmful pathogenic microflora will remain on them.
- When using homemade wax napkins, it is better to prevent food spoilage and mold, in case this happens, rinse the entire fabric well with a sponge and dry it.
- Wax pads should also not be boiled or heated in a microwave or oven, and it is not recommended to wash them in hot water. High temperatures can damage or even destroy the layer of wax applied to the fabric, so it should also not be kept in direct sunlight for a long time.
- Wash homemade beeswax fabrics with cold or lukewarm water and mild soap. You can also wipe them with a damp cloth. Let them air dry and then store them in a cool, dry place.
- Also, wax wipes should not be used by people who are allergic to bee products, since one of the main components of such packaging is wax.
- Waxed fabric, made by hand, should withstand several years of use. Once it gets old, it can be easily refreshed! Simply send your old wax wipes back to the warm oven with a little beeswax spilled to provide a fresh finish and extend life. If they are really old and unusable, you can simply compost them. Since they are made from 100% natural materials, wax wipes are completely biodegradable!
P.S.
If you liked and found this information useful, please share it on social media. networks with your friends and acquaintances. This is how you support our project “Ecology of Life” and make your contribution to the preservation of the environment!
- Magnetic storms: the sun is testing the planet🌪️ - 13.06.2024
- Why You Should Drink Chicory: Benefits and Harms 🌿 - 09.06.2024
- Innovative Choice: Sproud Milk – Your Ideal Plant-Based Drink 🌱 - 03.06.2024
